Ultrasound Maintenance: Checklist, Schedule and Best Practices
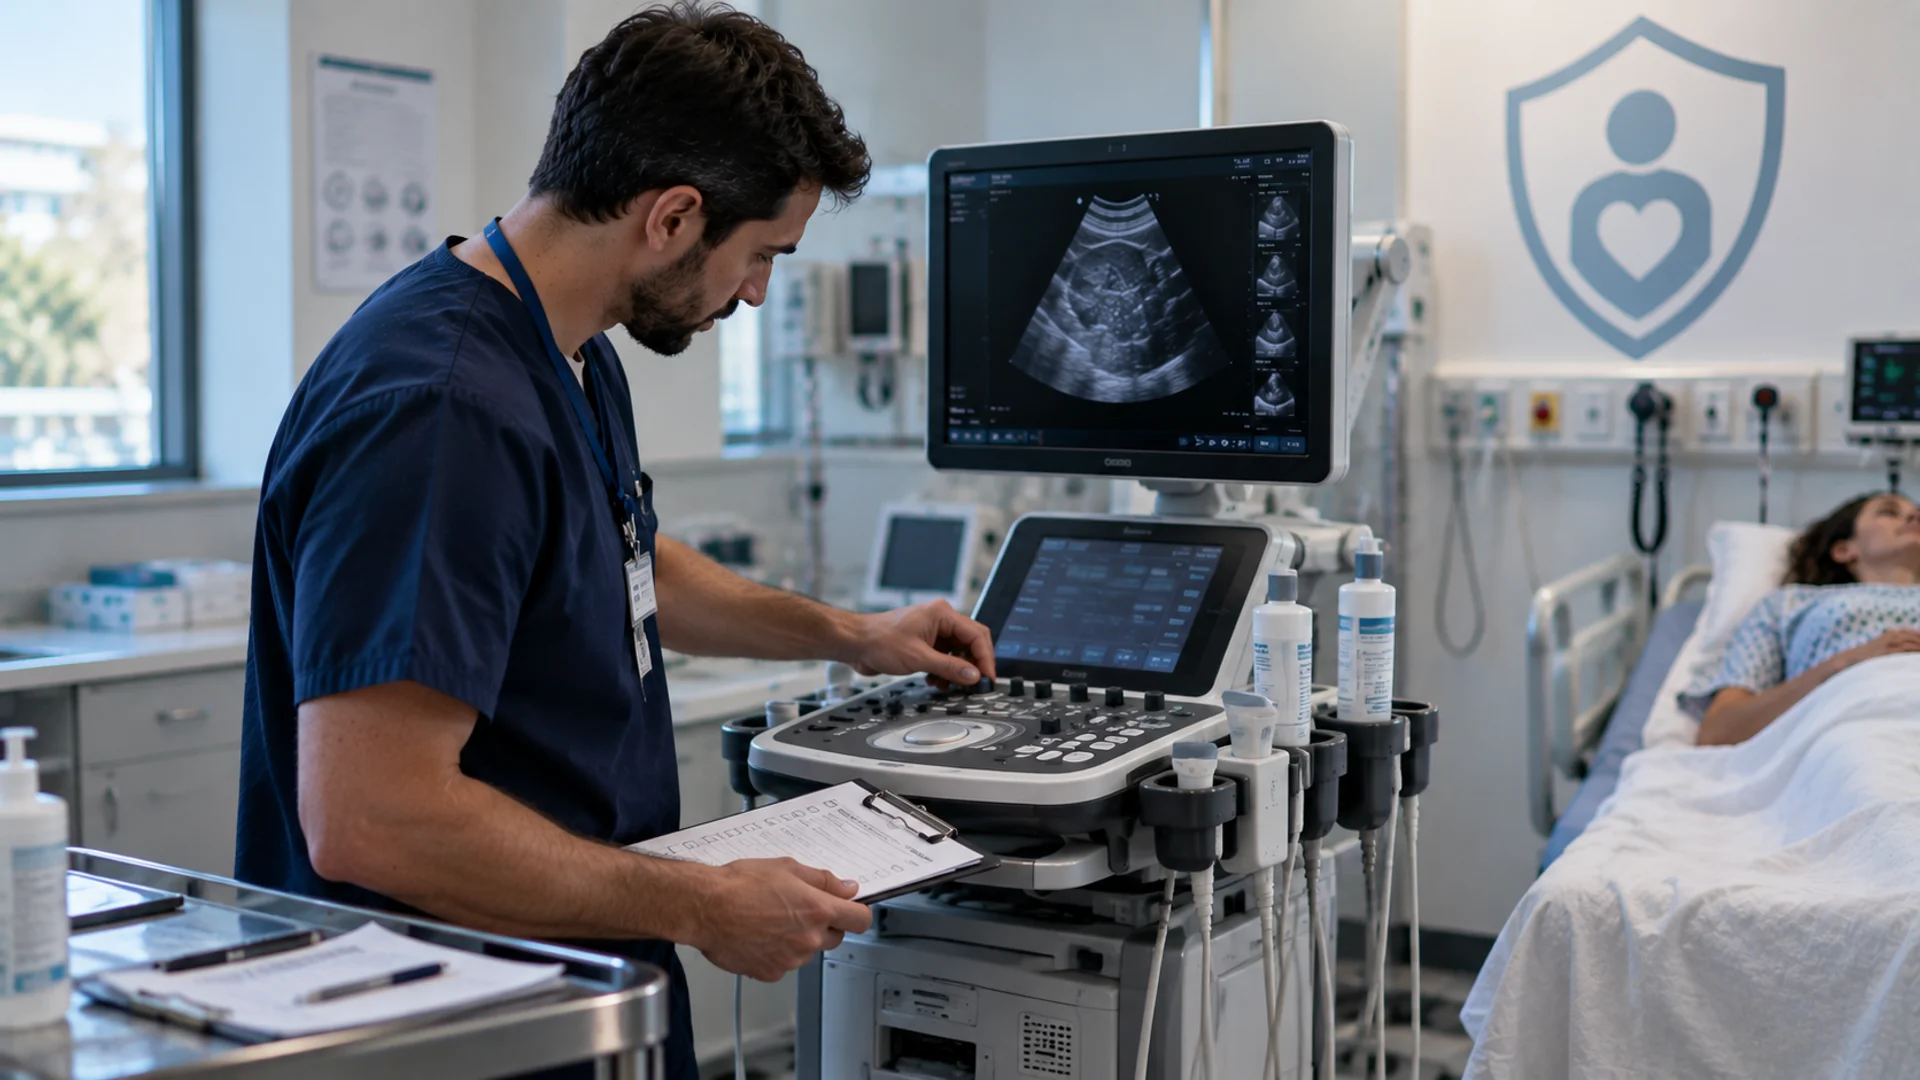
Ultrasound maintenance plays a crucial role in supporting patient safety and dependable diagnostic imaging. It involves routine cleaning, regular inspection, performance checks, and scheduled servicing to keep an ultrasound system operating safely and reliably. Consistent maintenance helps clinical teams identify damaged probes, power issues, image-quality changes, and other problems before they disrupt daily workflow. While clinical staff can perform routine care, technical testing and internal ultrasound services should be handled by qualified professionals.
This guide explains what to check, how often maintenance should be performed, and when an ultrasound machine requires professional service.
What Is Ultrasound Maintenance and Why Does It Matter?
Just as a professional camera depends on a clean lens, a reliable power source, and correctly functioning internal elements to generate clear images, an ultrasound system relies on several connected parts to perform accurately.
Both new systems and refurbished ultrasound machines therefore require ongoing care throughout their service life. Ultrasound maintenance refers to the planned inspection, cleaning, performance monitoring, and technical care of the system, transducers, power components, software, cart, and accessories.
The purpose of maintenance is to identify wear or performance changes before they develop into equipment failure. Unlike repair, which addresses an existing fault, maintenance provides an organized way to monitor and preserve the system’s condition over time. For example, a small internal break in a probe cable may initially cause only an occasional image artifact but can eventually lead to poor image quality or failure during an examination. While trained clinical staff can perform routine care, technical inspections and internal servicing should be handled by biomedical engineers or qualified technicians. Detecting problems early supports consistent imaging, protects patients and operators, reduces unexpected downtime, and helps preserve the system’s useful working life.
Ultrasound Maintenance Schedule: What to Check and When
Ultrasound maintenance covers tasks ranging from checking system connections and inspecting probes to monitoring the condition of other elements such as the ultrasound battery, with each task performed at an appropriate interval, as shown in the table below.
| Ultrasound Maintenance interval | What to check or do | Main components | Responsible person |
| Before each use | Check for visible damage, secure connections, startup warnings, and sufficient battery charge | System, probe, cables, connectors, and battery | Clinical user |
| After each patient | Remove gel and clean or disinfect all contacted surfaces according to approved procedures | Probe, cable, control panel, and high-touch surfaces | Trained clinical user |
| End of day | Clean the system, place probes correctly, charge portable units, and record any problems | Complete ultrasound machine | Clinical user |
| Weekly | Inspect cables, probe holders, wheels, brakes, accessories, and ventilation openings | Physical and mechanical components | Clinical user or equipment manager |
| Monthly | Review battery runtime, storage capacity, recurring errors, and noticeable performance changes | Battery, software, storage, and imaging system | Equipment manager or biomedical team |
| Manufacturer- or facility-defined intervals | Perform technical inspection, preventive servicing, and required performance or safety tests | Complete system and transducers | Biomedical engineer or qualified technician |
| After repair or a major upgrade | Confirm that the repaired or updated equipment performs correctly before clinical use | Repaired or upgraded components | Qualified technical personnel |
Cleaning and Disinfecting Ultrasound Equipment
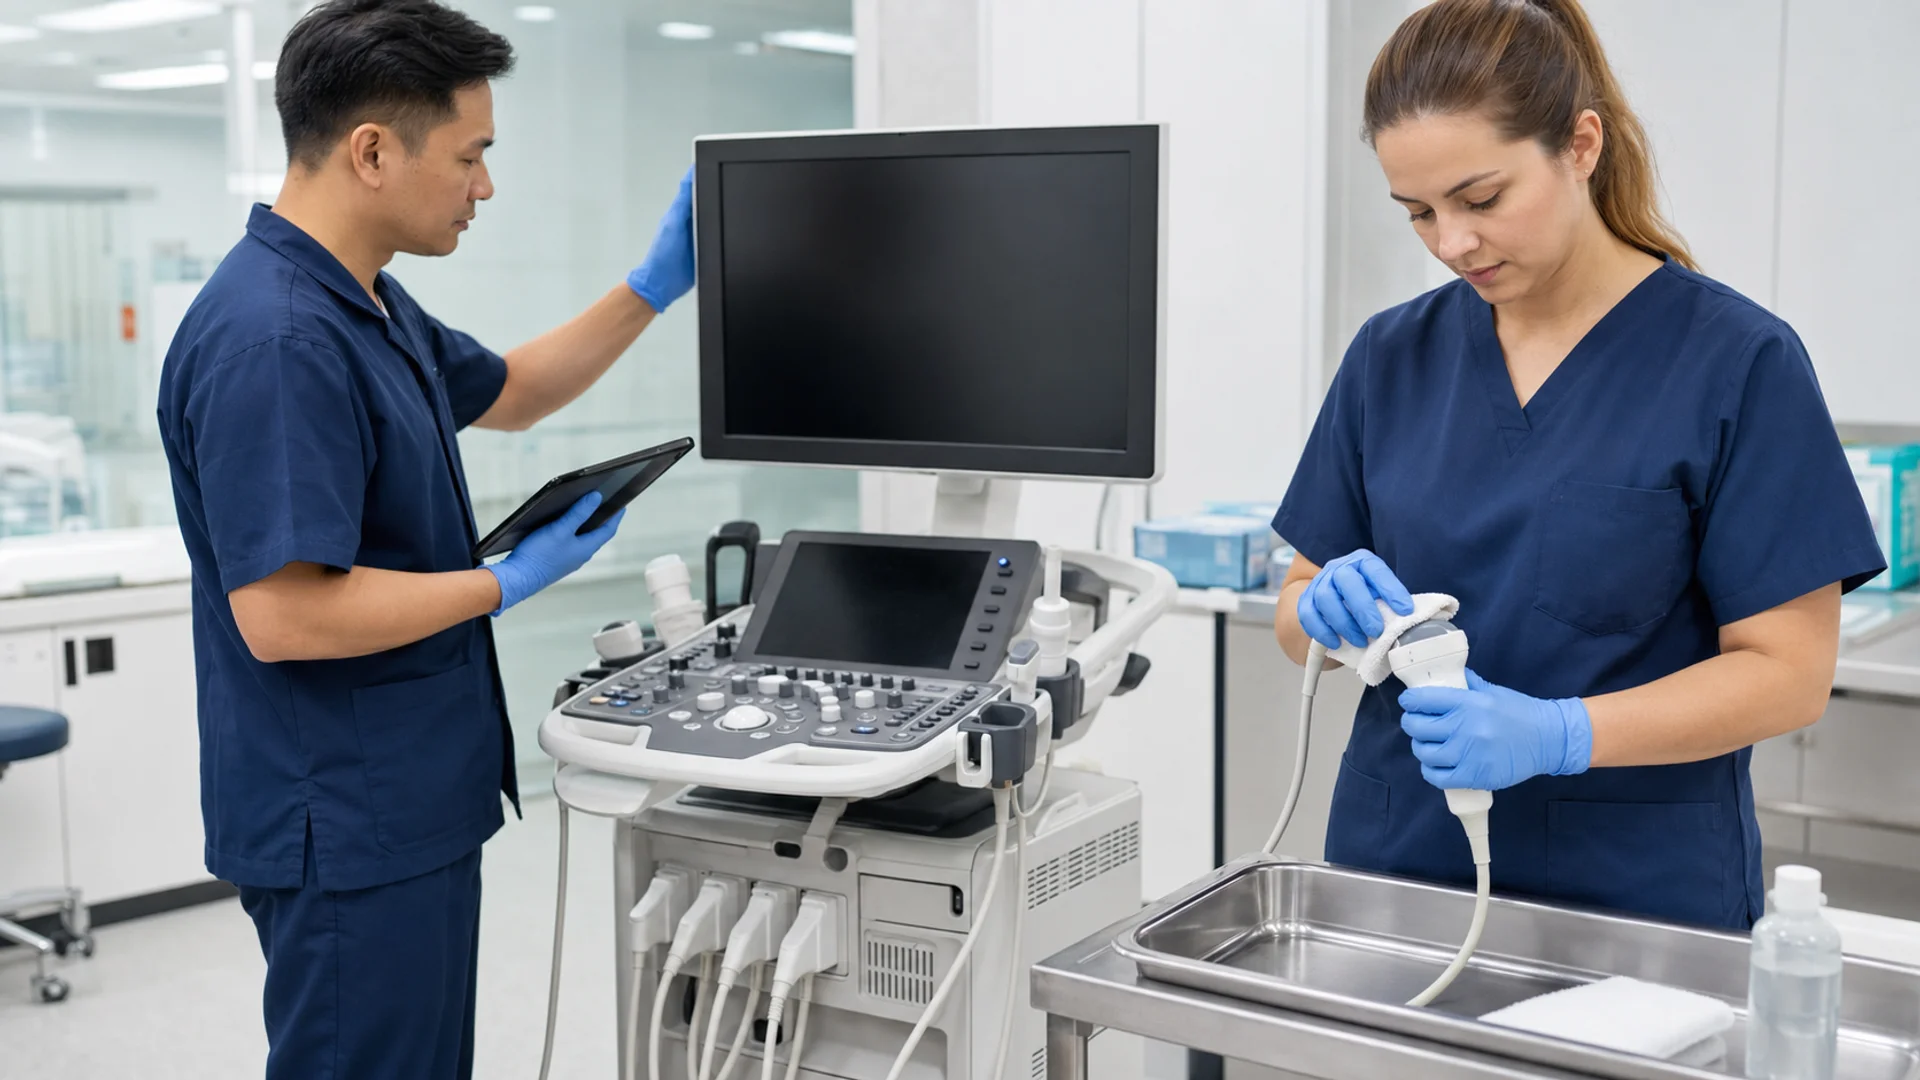
Cleaning and disinfection are essential parts of maintaining both cart-based and portable ultrasound systems. In this context, attention is mainly directed toward two areas: the ultrasound machine and its probes. System surfaces such as the control panel, touchscreen, keyboard, trackball, handles, cables, and outer casing should be cleaned according to their level of contact with users and patients. Only manufacturer-compatible cleaning products and methods should be used, as excessive moisture, abrasive materials, or unapproved chemicals may damage protective coatings, seals, or electronic components.
Ultrasound probes require additional care because the appropriate reprocessing method depends on how each probe is used. Cleaning removes gel and other visible material, while disinfection addresses microorganisms that may remain on the surface. The required level of disinfection differs for probes used on intact skin, mucous membranes, or during invasive procedures. For a detailed explanation of these methods, read our guide on how to disinfect and clean ultrasound probes. Manufacturer instructions and facility infection-control procedures should always determine the approved products, contact times, drying methods, and immersion limits.
Ultrasound System and Component Care
Effective ultrasound maintenance extends beyond cleaning the machine and inspecting its transducers (probes). The monitor, control panel, power cord, connectors, cart, wheels, brakes, cooling vents, and other accessories should all be checked for physical wear or changes in operation. Storage capacity, network connectivity, error messages, and manufacturer-authorized software updates should also be reviewed to ensure that the system or machine continues to support the facility’s imaging workflow. Any loose connection, unresponsive control, unstable cart, or damaged electrical component should be documented and assessed before it develops into a more disruptive problem.
For example, a ventilation opening blocked by dust or positioned too close to a wall may prevent heat from leaving the system efficiently. The resulting temperature increase can cause slower performance, unexpected shutdowns, or additional stress on internal components during examinations. Keeping ventilation areas unobstructed and responding promptly to signs of overheating can help prevent a minor environmental issue from becoming a system-level failure.
Ultrasound Probe Maintenance and Testing
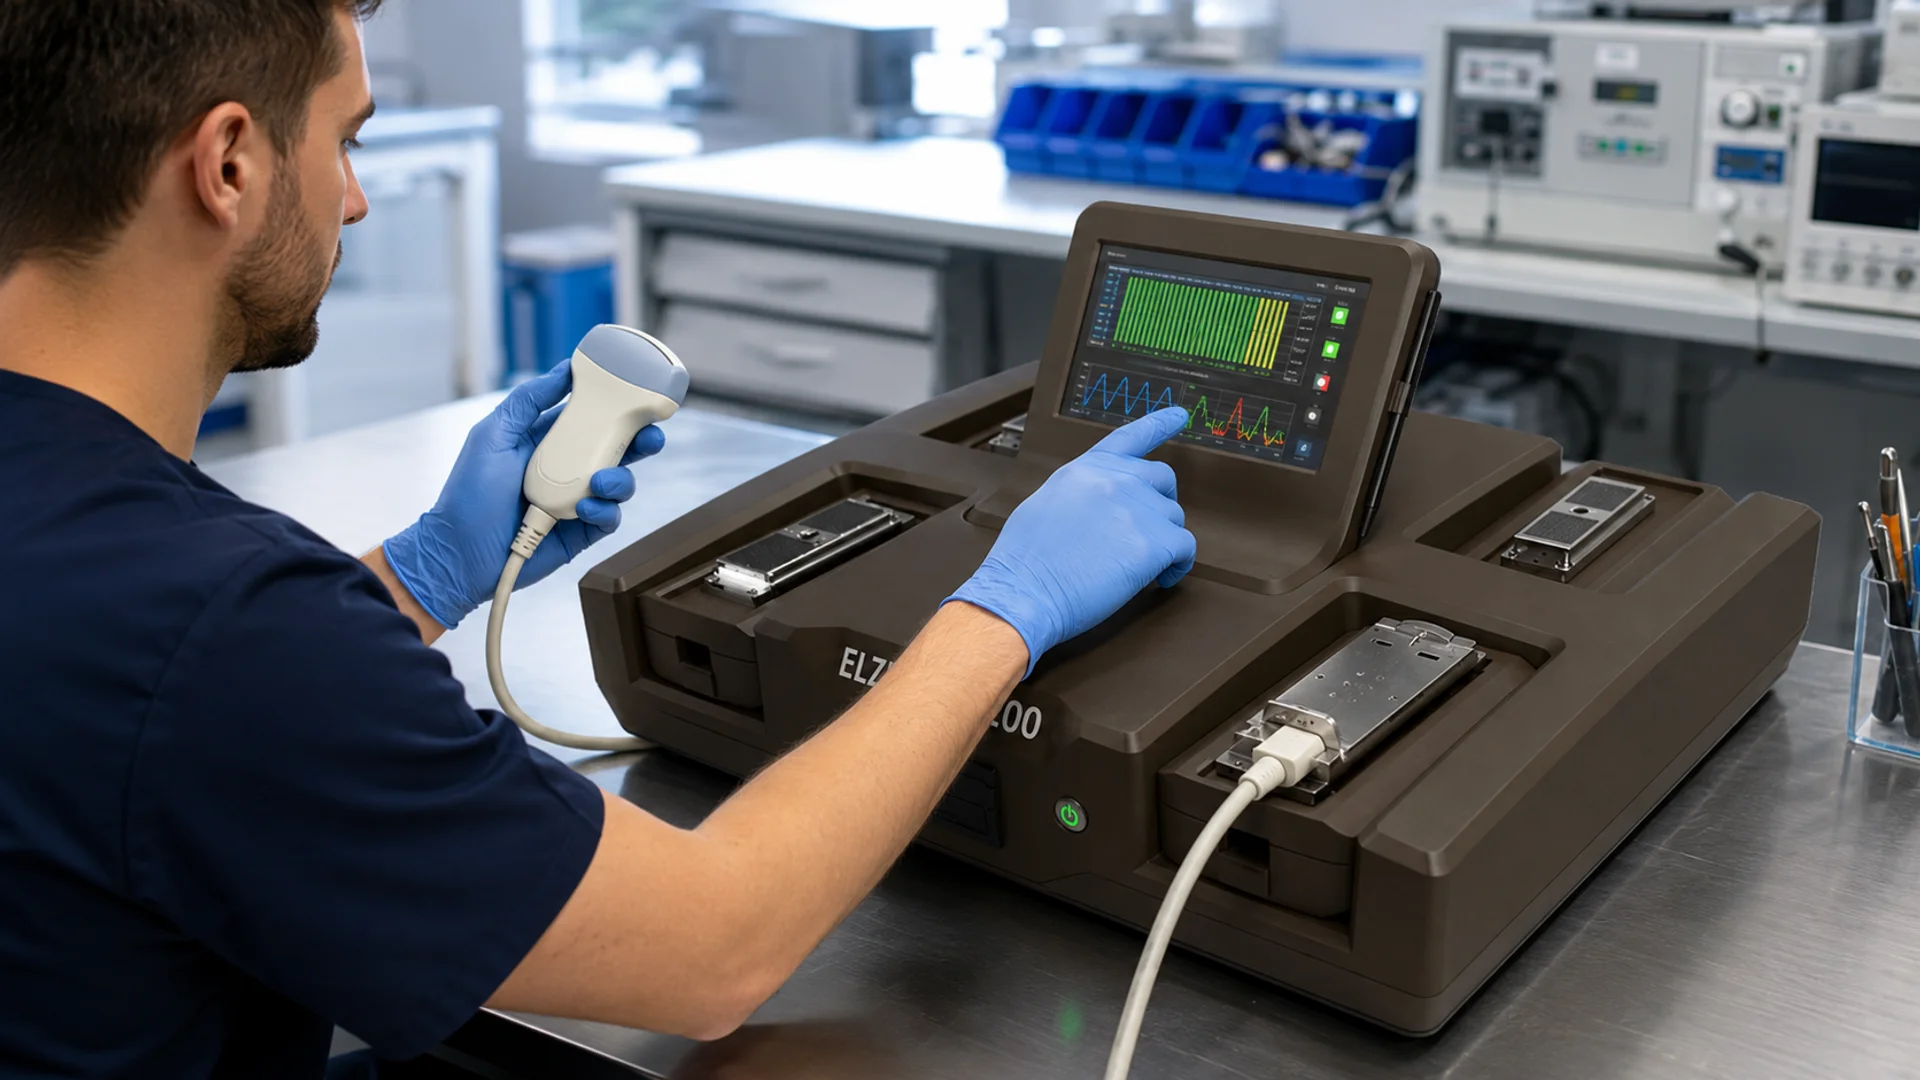
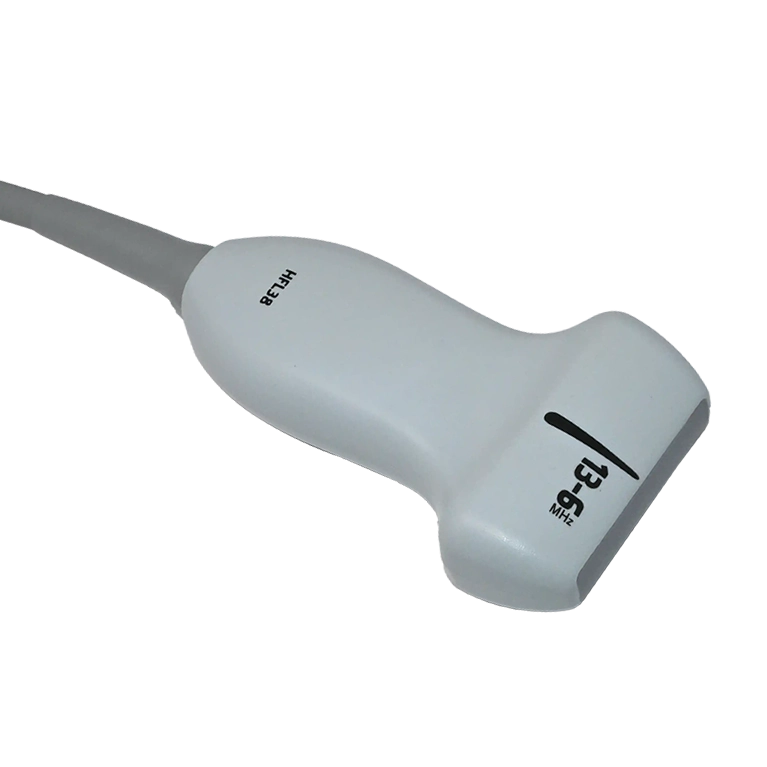
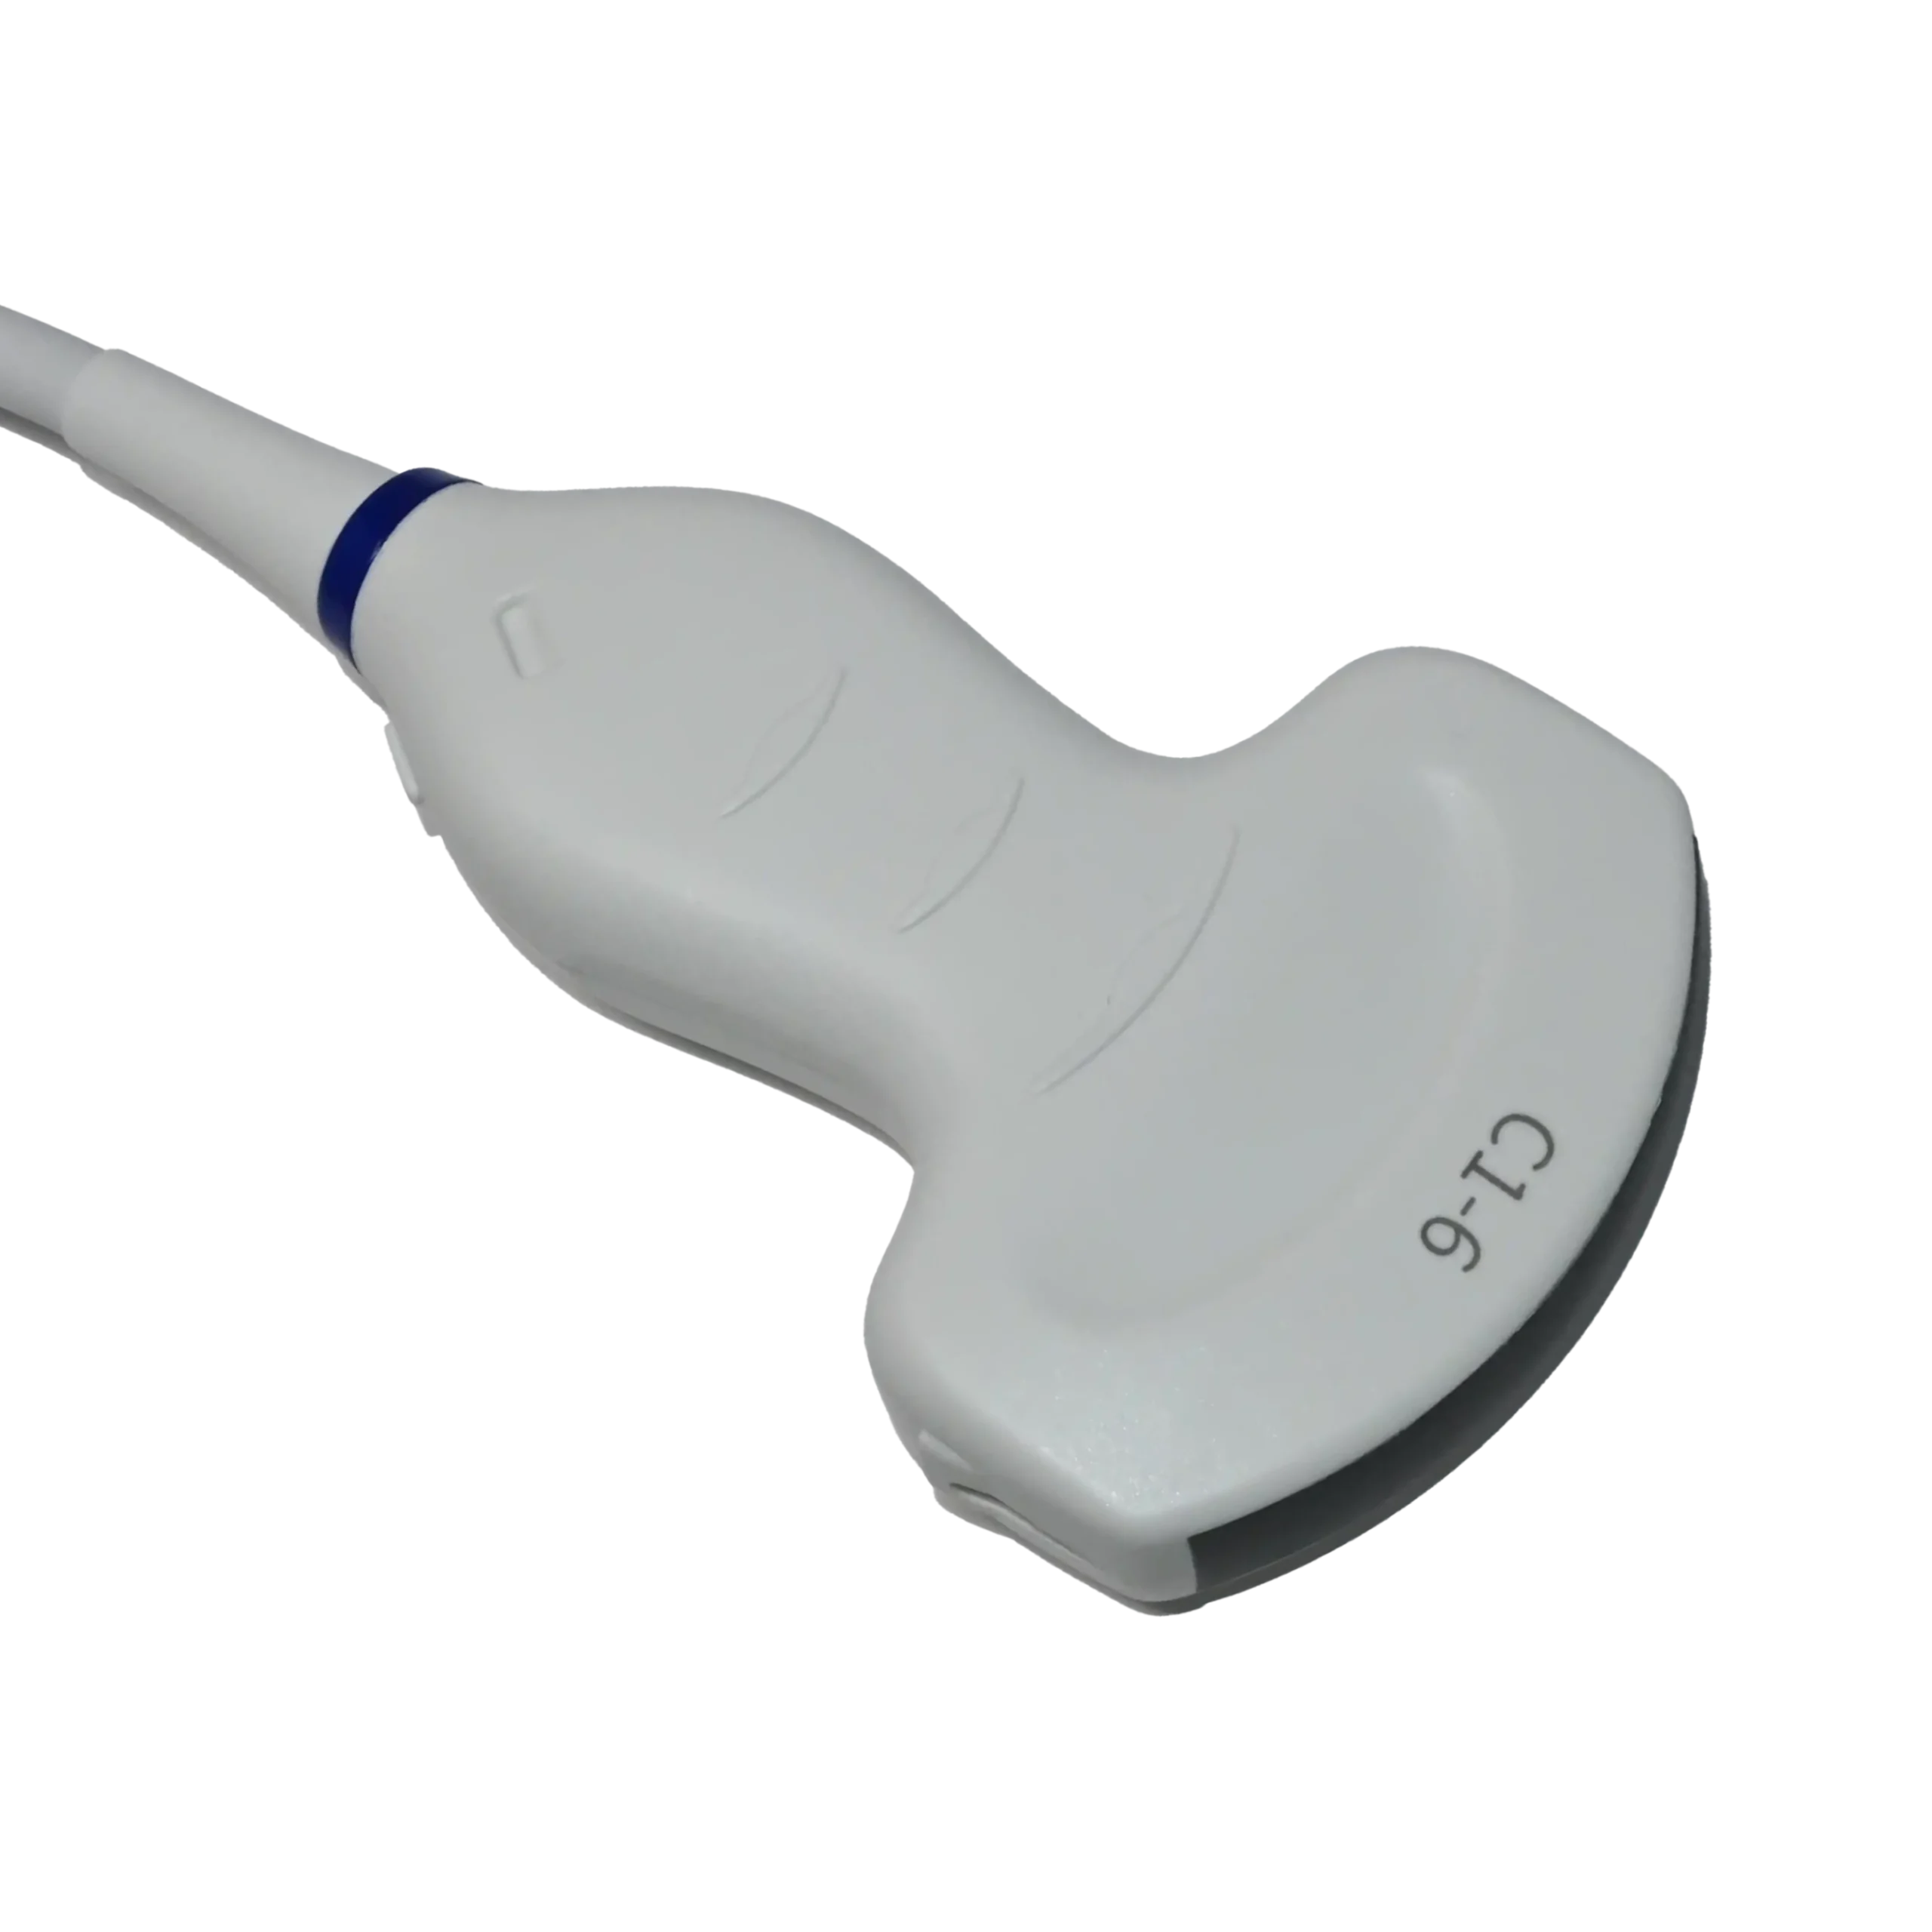
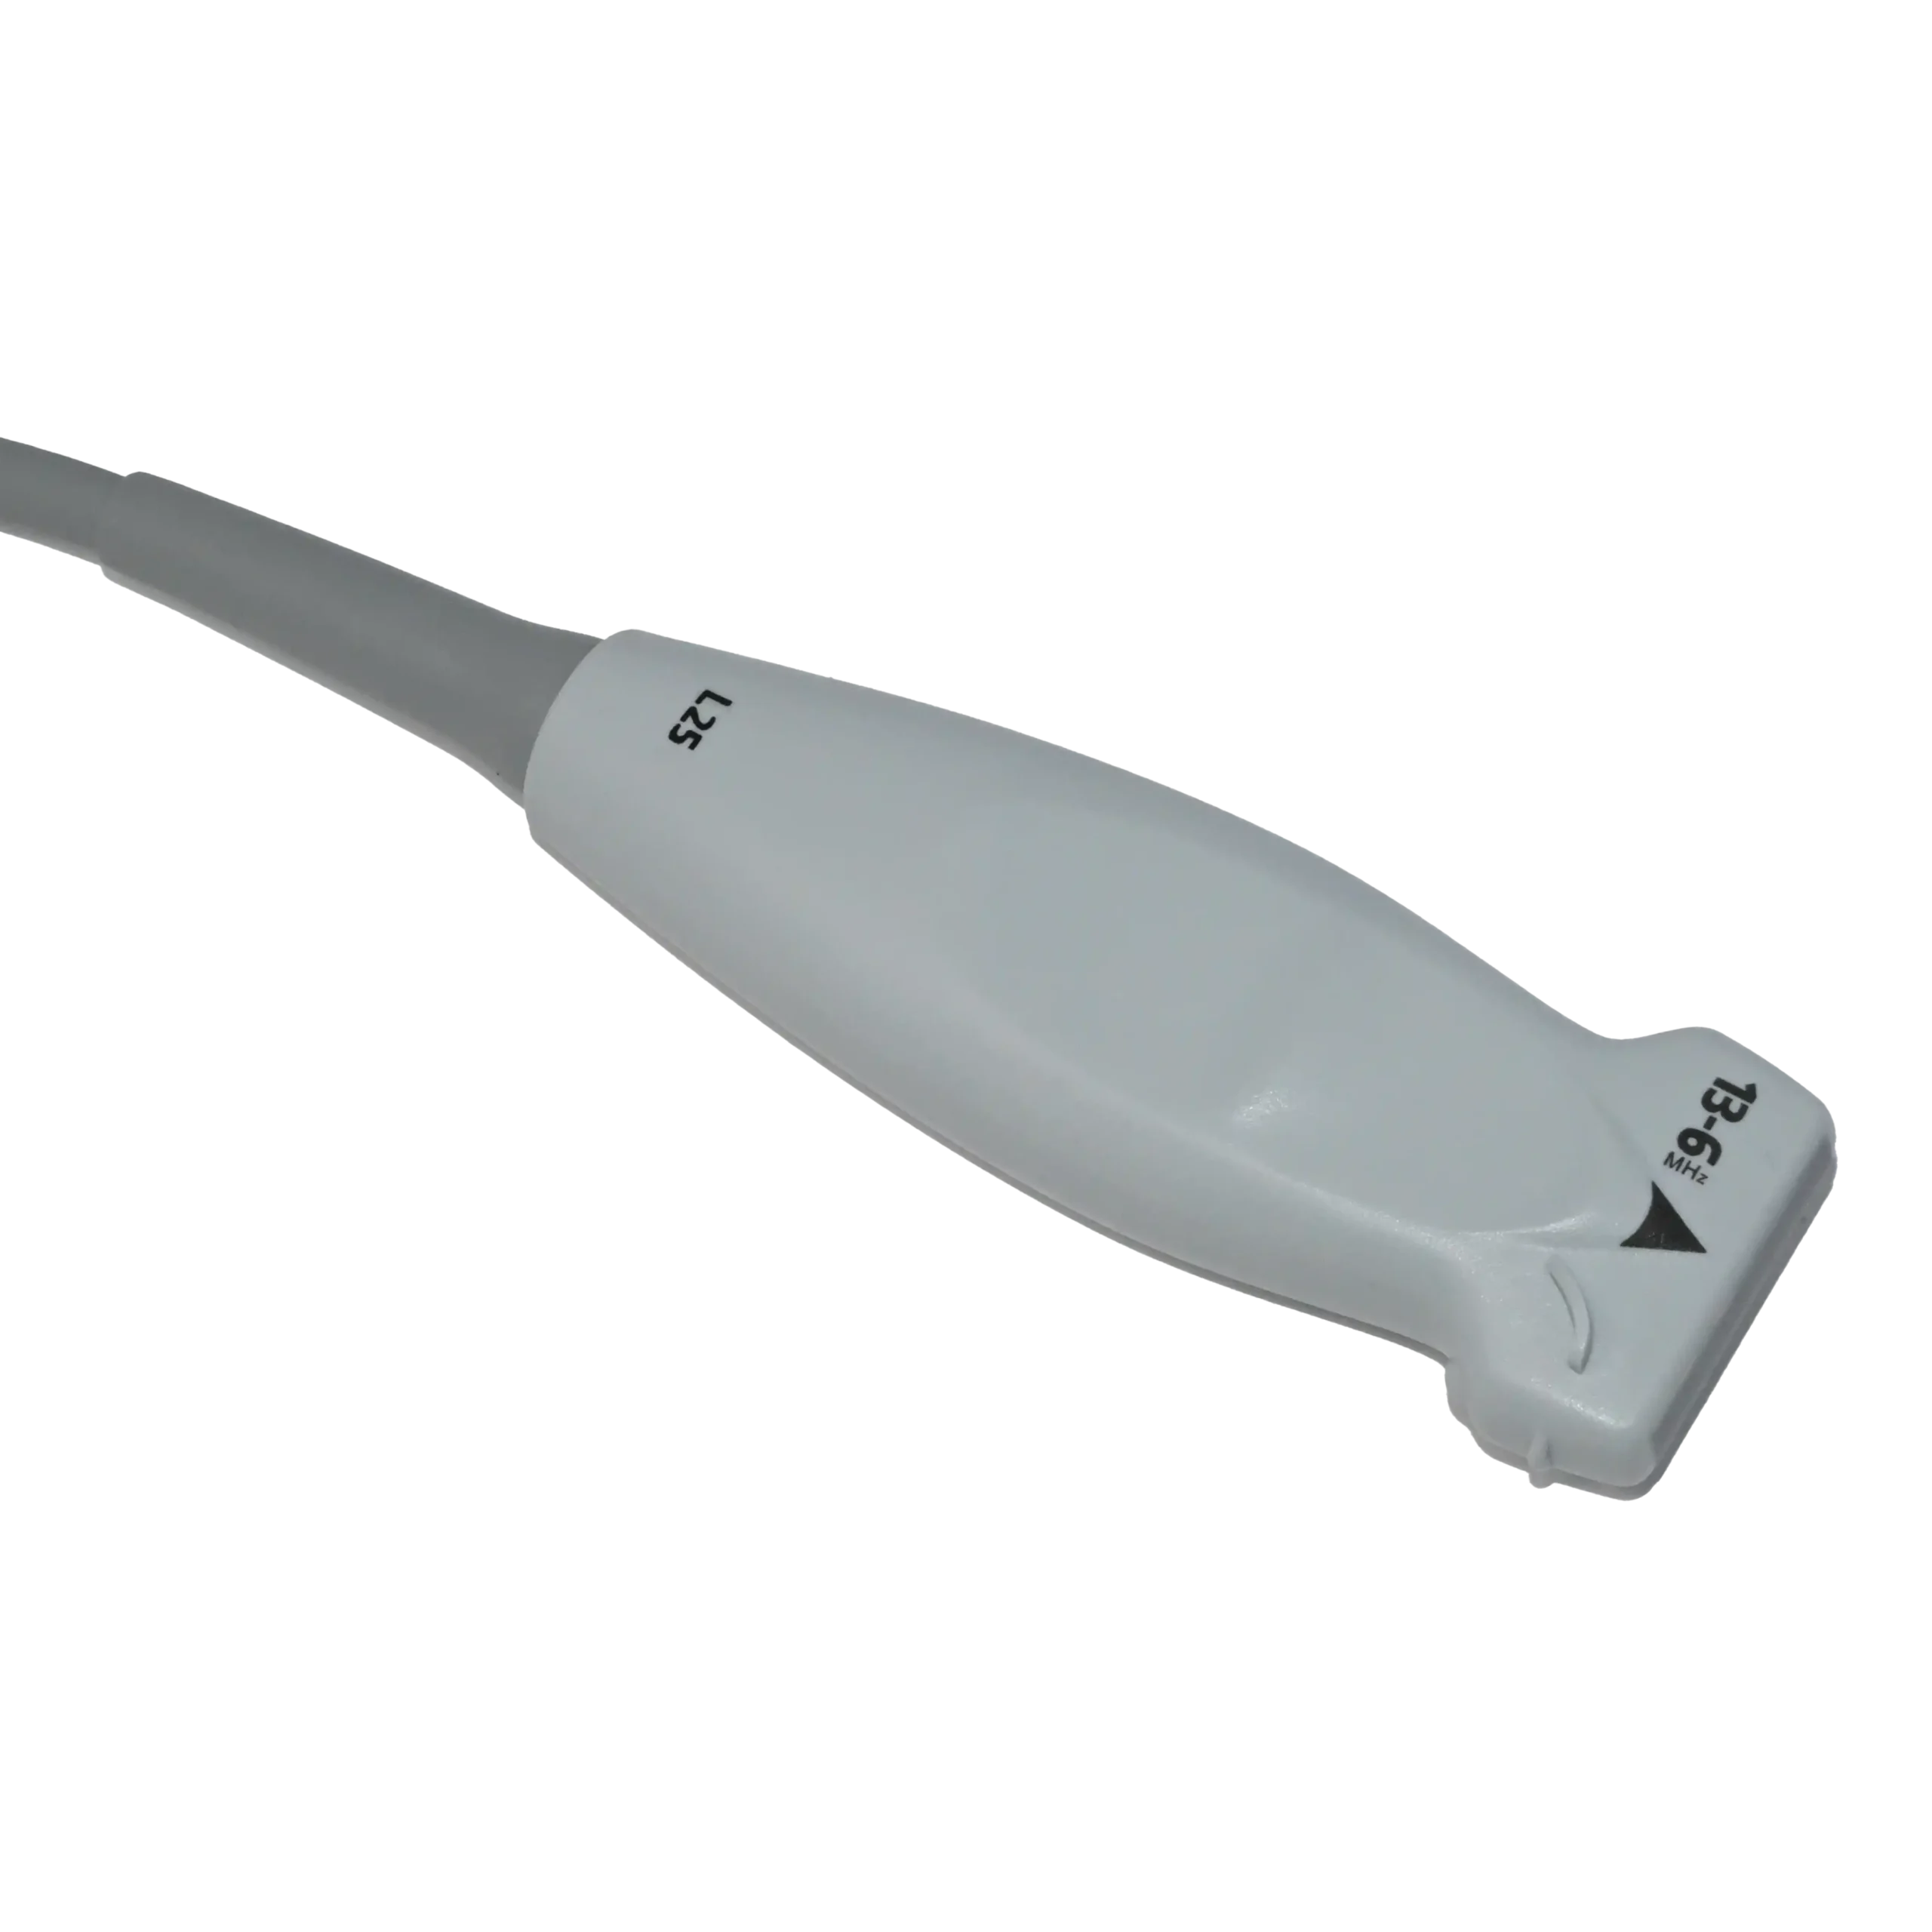
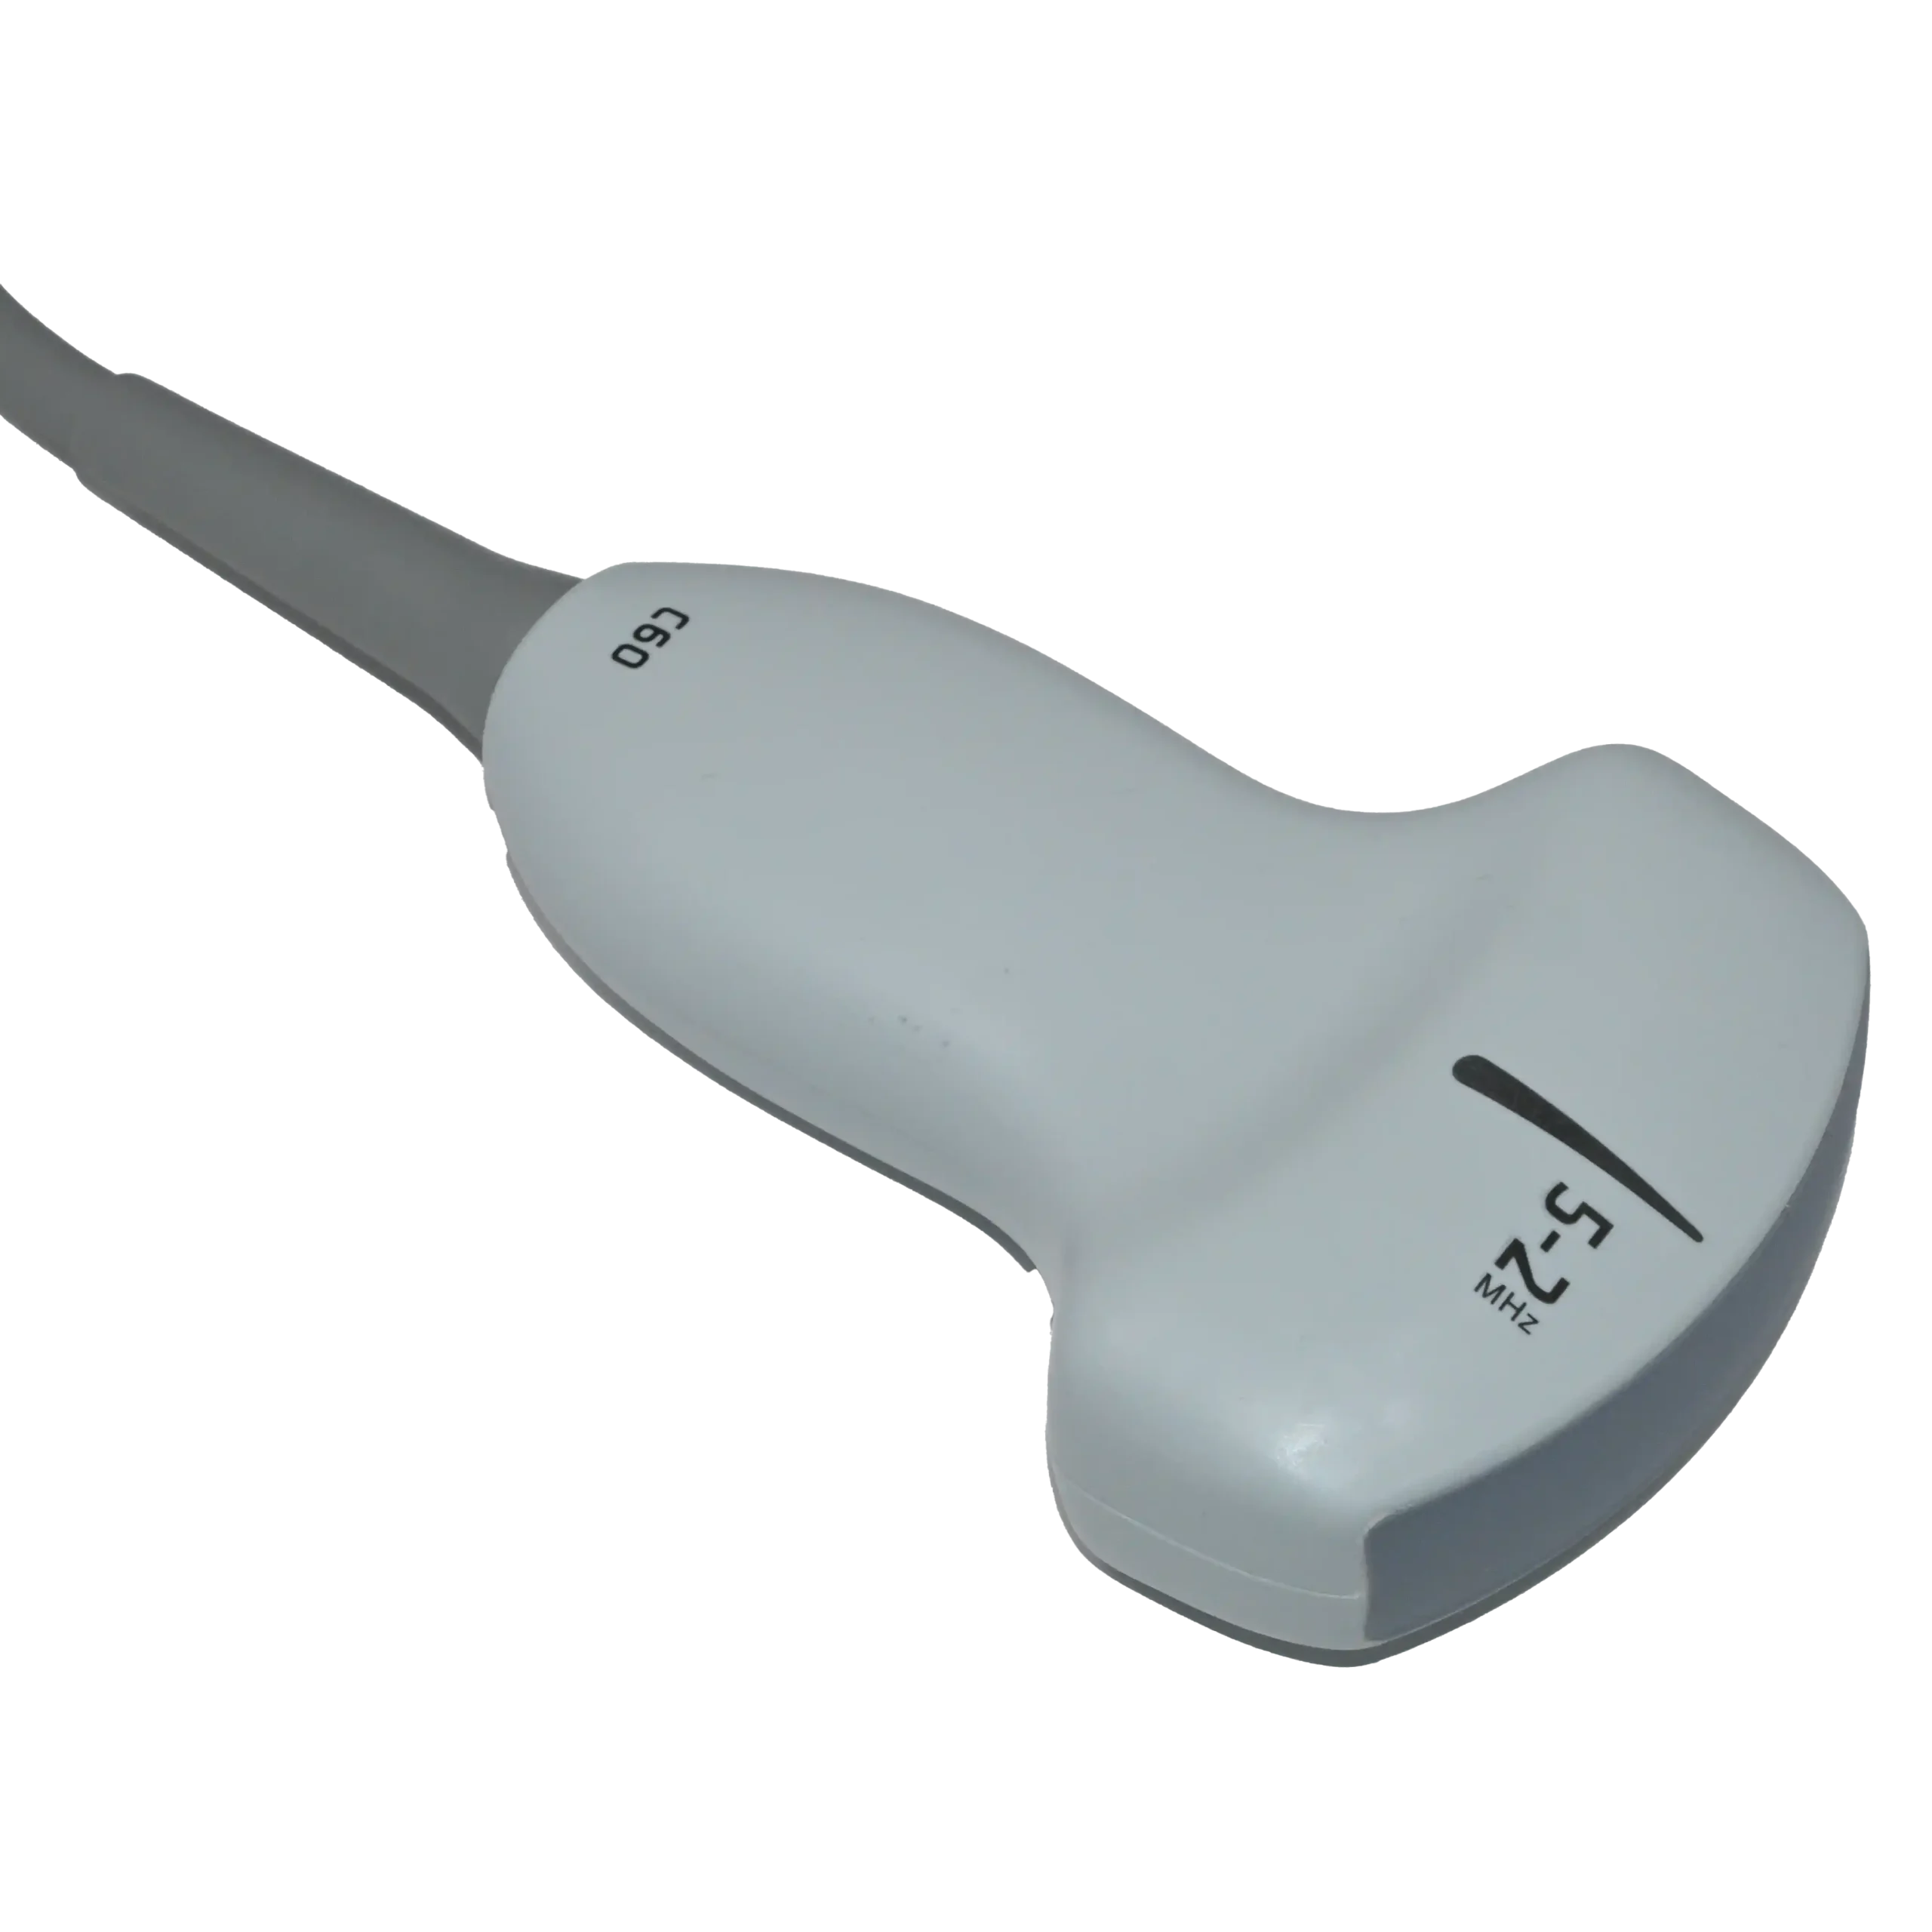
As mentioned earlier, the probe plays a crucial role in ultrasound imaging because it transmits and receives the signals used to create diagnostic images. Therefore, damage to its lens, housing, cable, or connector can affect both image quality and system performance. Although regular visual inspection is essential, some internal problems may not be visible from the outside.
For a more complete evaluation, facilities can use dedicated testing devices such as the smart transducer analyzer to assess acoustic and electrical performance. Objective testing can help identify weak or nonfunctioning elements, connection problems, and gradual performance changes. For this reason, monitoring probe functionality is an important part of a comprehensive ultrasound maintenance program.
Ultrasound Battery Maintenance
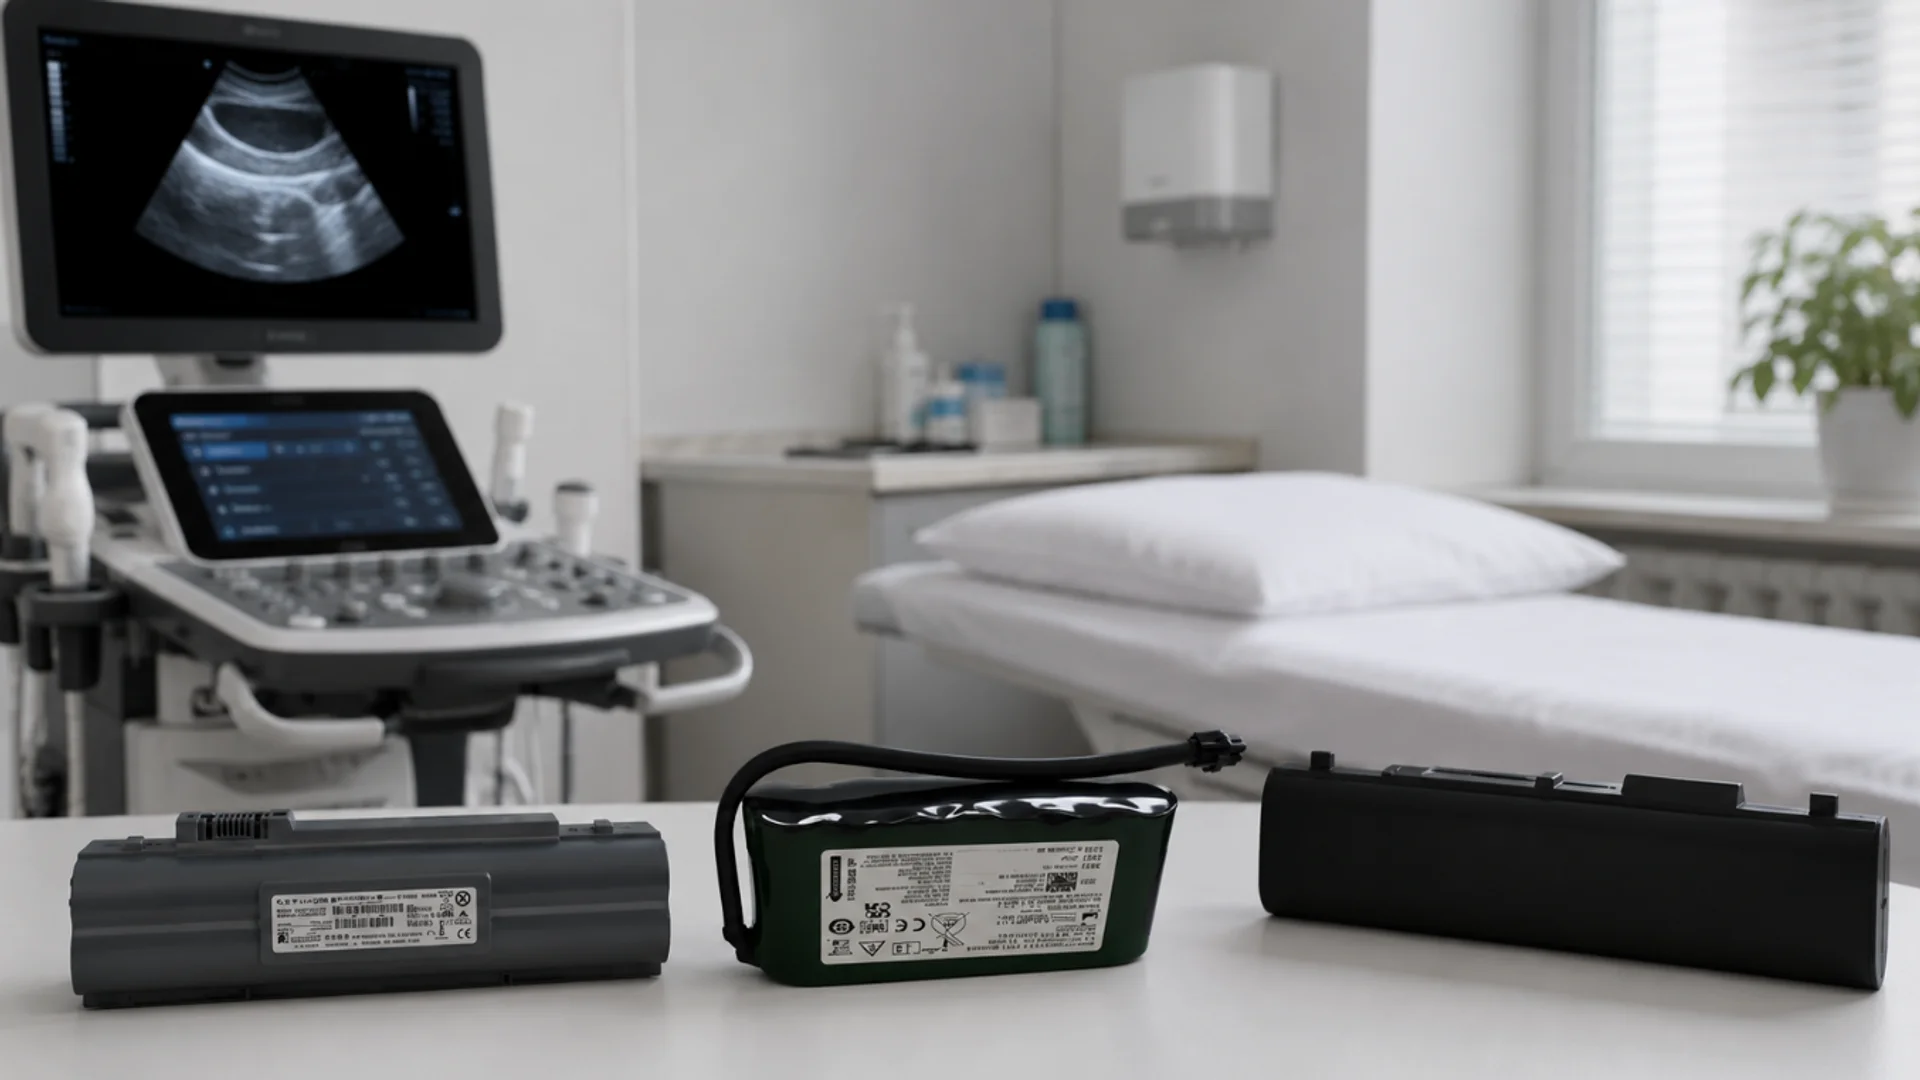
Another important part of ultrasound maintenance is checking the battery’s condition and performance. This becomes particularly important in portable ultrasound machines, where reduced capacity can limit mobility, shorten scanning time, or cause an unexpected shutdown. Monitoring runtime, charging behavior, temperature, and physical condition can help identify battery deterioration before it interrupts an examination.
If testing confirms that the battery can no longer support the ultrasound machine properly, replacing it with a compatible rechargeable ultrasound battery can restore dependable mobile operation. Elzhen offers Sonosite ultrasound batteries for a range of portable system models. However, the system name, voltage, and OEM part number should always be verified before selecting a replacement.
Professional Ultrasound Maintenance and Quality Control
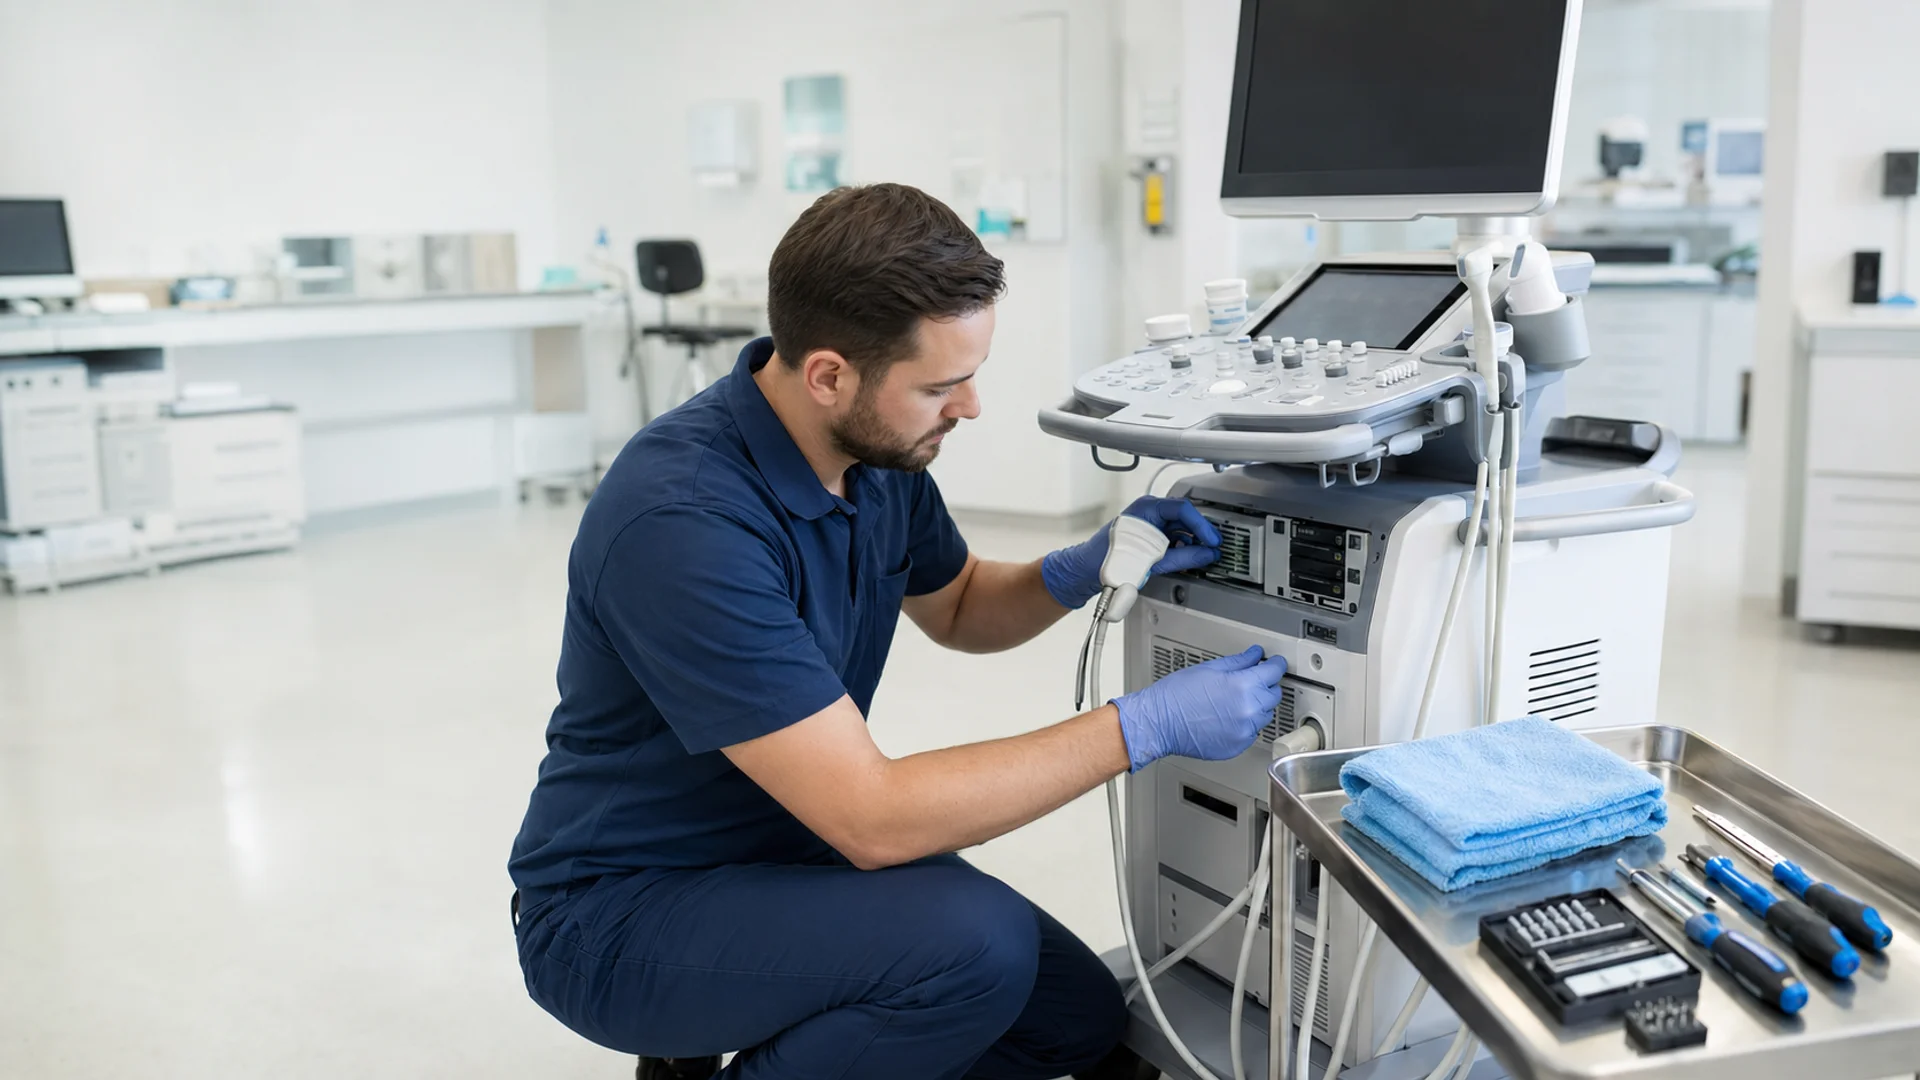
Ultrasound maintenance goes far beyond cleaning and the routine component checks discussed above. At manufacturer- or facility-defined intervals, qualified personnel should evaluate image uniformity, system sensitivity, display performance, and electrical safety using suitable test equipment and documented procedures.
These quality-control assessments can reveal gradual performance changes that may not be noticeable during daily operation. Technical evaluation may also be necessary after a repair, transducer replacement, or major system upgrade before the equipment returns to clinical use. Recording the results provides a performance baseline and makes it easier to identify changes over time.
Documenting Ultrasound Maintenance
To streamline clinical workflow and make ultrasound maintenance easier to manage, maintain a clear record for each system and probe. The record should include the equipment identification, date, task performed, inspection or test results, reported problem, corrective action, responsible person, and return-to-service status. Keeping this information in one place helps teams monitor performance changes, recognize recurring issues, and avoid missed maintenance tasks. It also improves communication between clinical and technical personnel while confirming whether equipment has been assessed before returning to use.
7 Signs That Ultrasound Equipment Needs Professional Service
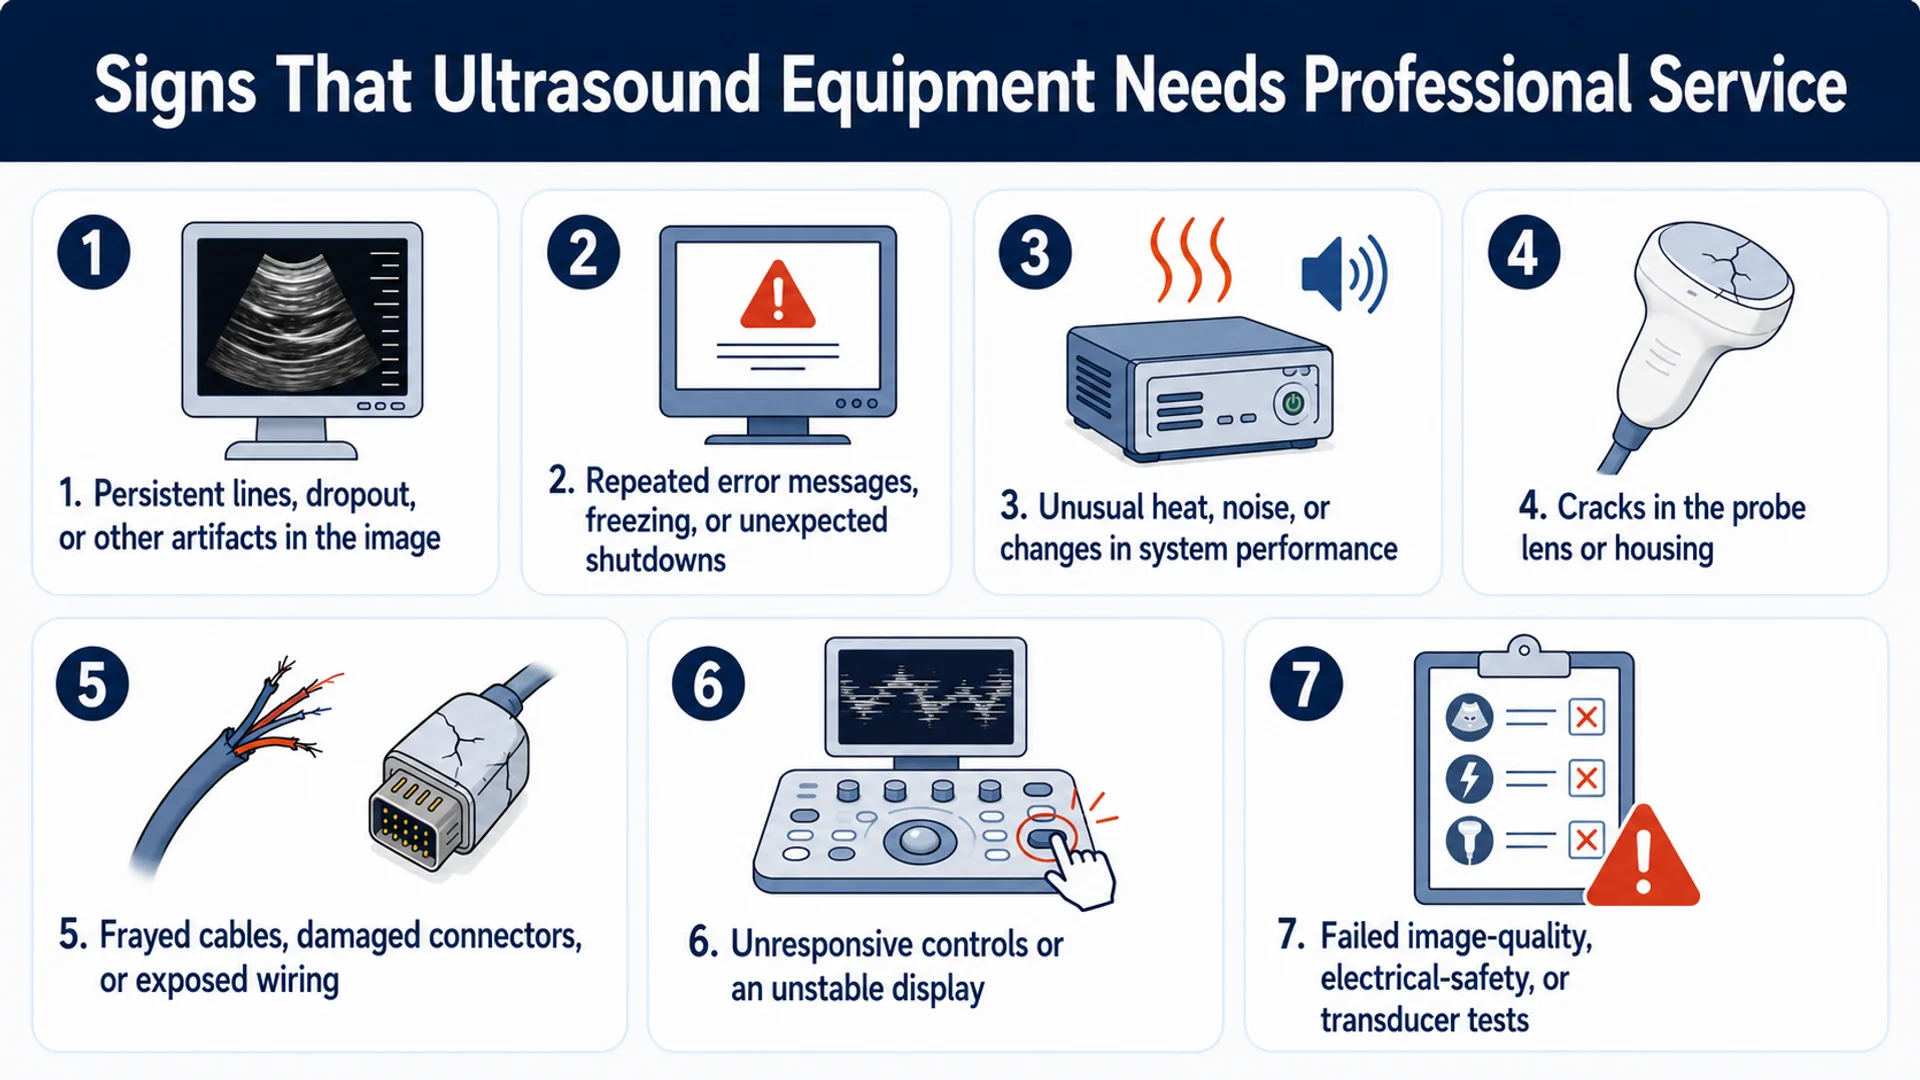
So far, this guide has covered the most important ultrasound maintenance practices. However, even a system that receives regular care may develop faults as its components age or its clinical workload increases. When a problem cannot be resolved through approved user-level checks, the affected equipment should be assessed by qualified service personnel. Warning signs may include:
- Persistent lines, dropout, or other artifacts in the image
- Repeated error messages, freezing, or unexpected shutdowns
- Unusual heat, noise, or changes in system performance
- Cracks in the probe lens or housing
- Frayed cables, damaged connectors, or exposed wiring
- Unresponsive controls or an unstable display
- Failed image-quality, electrical-safety, or transducer tests
Identifying one of these problems does not necessarily mean that the complete system must be replaced. Depending on the type and extent of the fault, professional repair may restore the affected equipment to proper working condition. Contact Elzhen for technical assessment, repair services, and guidance on the most appropriate next step.
Common Ultrasound Maintenance Mistakes
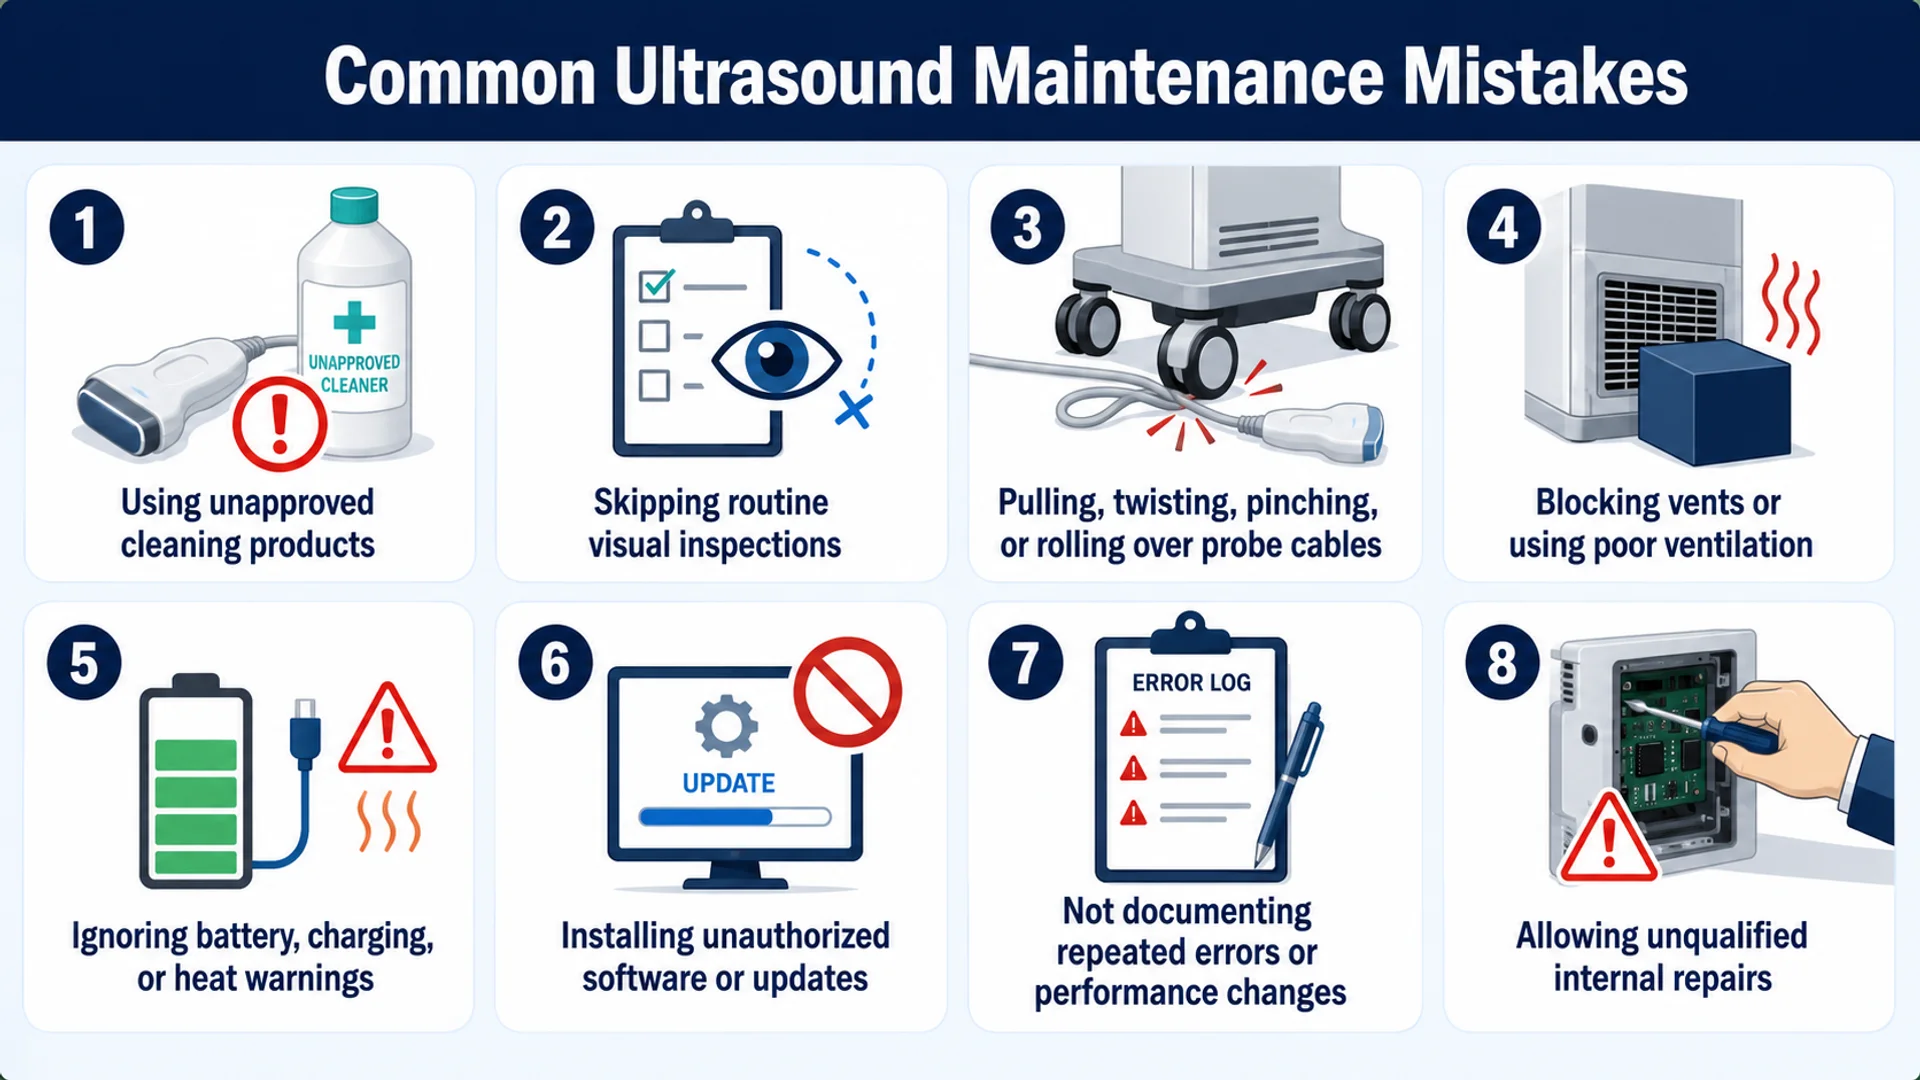
Following the recommended ultrasound maintenance practices is only part of keeping a system in suitable working condition. It is equally important to recognize actions that may damage the equipment, conceal developing faults, or create avoidable safety risks. Common mistakes include:
- Using cleaning products that are not approved for the system or probe
- Skipping routine visual inspections because the equipment appears to work normally
- Pulling, twisting, pinching, or rolling equipment over probe cables
- Blocking cooling vents or operating the system in a poorly ventilated area
- Ignoring shorter battery runtime, charging problems, or unusual heat
- Installing unauthorized software, updates, or system modifications
- Failing to document repeated errors or gradual performance changes
- Allowing unqualified personnel to open the system or perform internal repairs
Combining correct maintenance procedures with an awareness of these mistakes helps clinical teams prevent avoidable damage, identify problems earlier, and maintain a safer and more reliable imaging workflow.
Conclusion
Overall, this guide has explained the essential parts of ultrasound maintenance, from routine cleaning and component checks to professional quality control. Following a clear schedule makes it easier to care for the system, probes, and battery while identifying performance changes before they disrupt clinical work. Maintenance records and timely technical support also help teams respond appropriately when a fault appears. For the best results, every maintenance program should follow the manufacturer’s instructions, facility procedures, and recommendations of qualified service personnel.